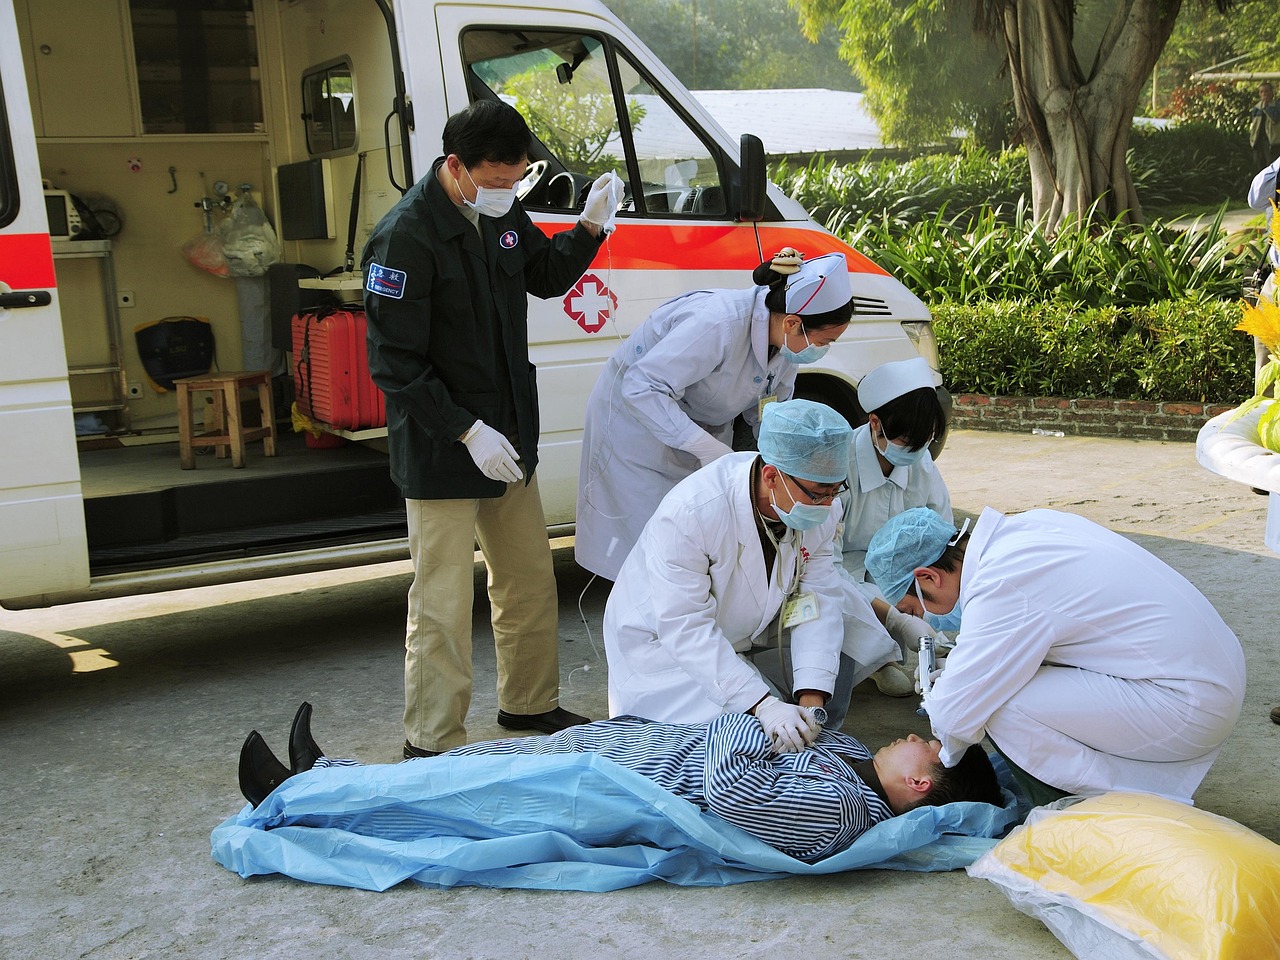
Be Your Pet’s First Responder
This quick guide gives clear, practical steps to handle common pet emergencies at home. Learn immediate actions, recognize URGENT signs, and decide when to seek veterinary care. Stay calm, act confidently, and help your pet safely until professional help arrives.
What You'll Need (and What You Should Know)

Step 1 — Assess the Scene Quickly
Don’t freeze: check danger, breathing, bleeding—what to look for first?Approach calmly and ensure your safety first — scared pets bite. Scan the area for hazards like traffic, other animals, or spilled chemicals before moving in. Check responsiveness: call their name and touch them gently; if they don’t respond, look for breathing and chest movement. If not breathing, begin CPR (see Step 2).
Identify obvious life threats and act fast:
If the pet is aggressive from pain or fear, only muzzle if it won’t impede breathing. Note location, time, and what happened; this info will guide the next moves and the vet.

Step 2 — Basic Life Support: CPR and Airway
Pet CPR? Yes — simple techniques can buy precious minutes.Open the airway: extend the neck gently and tilt the head slightly. Check the mouth for visible obstructions and remove only what you can see and grab easily (e.g., a toy or vomit) — be careful not to push it deeper.
Position the pet: place dogs on their right side; keep cats straight and supported. Give 2 rescue breaths first: seal the mouth and breathe into the nose for dogs; seal over both mouth and nose for cats. Watch for chest rise.
Have someone call the vet immediately and continue until help or signs of life.
Step 3 — Control Bleeding and Treat Wounds
Bleeding? Act fast—simple pressure beats panic every time.Apply firm, direct pressure with clean gauze or a towel to stop bleeding. Keep pressure for several minutes; do not remove a soaked dressing—add more on top.
Elevate the injured limb if possible. For arterial spurting, apply a tourniquet only as a last resort and note the time you put it on (write it down or tell your vet).
Clean small cuts with saline or clean water. Avoid hydrogen peroxide or rubbing alcohol on deep wounds. For punctures, deep cuts, or large gaping wounds, stabilize with a pressure bandage and get to your vet—these often hide deeper damage and infection.
Watch for contamination, and keep the pet warm and quiet to reduce shock.

Step 4 — Stabilize Shock, Pain, and Poisoning
Is my pet in shock? Here’s how to help them feel safer—fast.Recognize shock: look for pale/white or very red gums, rapid weak pulse, shallow breathing, and extreme lethargy.
Keep the pet warm with a blanket and talk calmly to reduce stress.
Elevate hindquarters slightly if circulation seems poor (hind legs cold or weak).
Minimize movement—stabilize on a flat board or towel for transport if you suspect internal injuries.
Avoid giving human painkillers—many are toxic to pets (e.g., ibuprofen, acetaminophen).
Identify poisoning: note the substance, packaging, how much and when.
Remove visible material from the mouth only if safe (use gloves; don’t push fingers near a choking or aggressive animal).
Call your vet or a pet poison-control hotline immediately.
Do NOT induce vomiting unless a professional tells you to; activated charcoal may be recommended. Time and accurate ingestion details are crucial.

Step 5 — Red Flags and Timelines: What Needs Minutes vs. Hours
Tick-tock—what must be fixed in minutes, what can wait a day?Recognize danger levels fast and act accordingly. Move quickly for life‑threatening signs; plan for vet care within hours for serious but stable problems; monitor lesser issues over days.
Prioritize bloat, snakebites and fast‑acting toxins—bloat can kill within an hour and some antidotes have narrow windows. When in doubt, call the vet—better safe than sorry.

Step 6 — Safe Transport and What to Tell Your Vet
How you carry them and what you say can change outcomes—use these exact tips.Stabilize before moving: control bleeding, immobilize fractures with a board or rolled towels, muzzle if safe (don’t muzzle a panting or vomiting pet), and keep them warm or cool as needed. Use a flat board, stretcher, or sturdy blanket to lift—slide under the pet and lift with two people. Example: for a suspected spinal injury, pad and tape rolled towels along both sides before sliding onto a board.
When calling the vet, be concise: state species, age, key signs, time of incident, and what you did. Ask whether to go to your regular vet or an emergency clinic and follow directions precisely en route.

You’ve Got This — Stay Prepared
Practice these steps, assemble a kit, save emergency contacts, and take a pet first-aid class — quick, calm action saves lives. Try the drills, share your experiences, and sign up for a course today to be ready when it matters most.


Five-line note from a clumsy owner:
I read the red-flags section and finally understood the difference between “needs minutes” vs “needs hours”.
My cat hit a wall and seemed okay — then vomited 3 times 30 mins later. Off to the ER we went and they were super glad we came.
Lesson: trust the red flags, even if your pet acts fine at first.
Also, bring snacks for the humans. Hospitals are depressing.
Been there. Sometimes the ‘looks fine’ phase is the worst — adrenaline hides the symptoms.
Thanks for sharing, Carlos — that real-life example helps others recognize delayed symptoms. And snacks: very practical tip 😅
Haha yes, snacks are essential. Also, save the vet’s after-hours number in your phone — you don’t want to be scrambling.
Quick question — in Step 4 you mention activated charcoal for poisoning. Is that safe for all pets? My friend fed her dog some grapes last year and the vet had us bring the dog in immediately.
Activated charcoal isn’t safe or appropriate for all poisonings. Grapes/raisins are an emergency that needs immediate vet care; don’t give charcoal without vet advice. The guide advises calling poison control or your vet first.
Pet poison hotline saved us once — worth having the number saved.
Yup, some toxins require vomiting induced by a vet, others not. Always call before trying anything home-based.
I loved the ‘You’ve Got This — Stay Prepared’ closing. A little encouragement goes a long way. Also, anyone else keep their microchip and vaccine records in a Google Drive folder? Saved my butt during a road trip.
PS: Add kitten/puppy-specific quick notes. Babies aren’t just small adults.
Great tip about digital records — we’ll add a reminder to store copies online and in your phone. And yes, we can add a puppy/kitten addendum in the next revision.
Digital copies are clutch. I keep mine and my human family docs together so it’s all in one place.
Short and honest: this made me less terrified. Two tiny notes:
1) A printable emergency card template for the fridge would be priceless.
2) Maybe link to a video demo for CPR on pets — some of us are visual learners.
Thanks for putting this together!
Yes to video demos. Watching once made me feel so much more capable.
Thanks Alex — printable cards and demo videos are on our roadmap. We’ll prioritize the printable card for the next update.
Question: for small dogs, chest compressions feel impossible sometimes. Any tips for less-than-strong people? I almost broke my wrist trying 😂
For tiny pets, use two fingers or the thumb+index method and compress to about one-third of chest depth. The guide has diagrams — practice on a stuffed toy to get a feel before you need it.
Also enlist a friend: one person does compressions, the other handles airway/breaths — way easier.
Practice is huge. My partner and I practiced on a stuffed dog and it helped so much in confidence.
Minor formatting feedback: the CPR steps are great but the order of chest compressions vs. airway check got me mixed up on first read. Maybe bold the three main actions with a single-line summary each.
Otherwise, solid, practical guide — easy to follow in an emergency mentally.
Thanks Nina — we’ll reformat the CPR section into bolded quick-action lines plus an expanded explanation. Good call.
Agreed — a TL;DR box would help when you’re stressed and need the basics fast.
Loved the timeline section. One small suggestion: include approximate travel times to common emergency clinics (like <30 min, 30–90 min, >90 min) and how that should change your actions (e.g., more stabilization if far away).
Also: there’s a typo in step 2, line 4 — ‘breathes’ instead of ‘breaths’? Not a big deal but thought I’d point it out.
Travel-time categories would be super useful for rural pet owners especially.
Agreed — where I live the nearest ER is over an hour, so stabilization tips must differ.
Good catch on the typo. I always miss those.
Thanks Marta — that’s a helpful idea. We’ll add guidance based on typical travel time categories and fix the typo. Appreciate the eagle eye!
Really appreciate the step-by-step layout — makes a scary situation feel less chaotic. The CPR section was super clear, though I wish there was a quick visual chart for compression-to-breath timing.
Tried the Heimlich on my cat once (long story) and panicked. This would have helped big time. Thanks!
Yes a cheat-sheet would be amazing. Even laminating a one-page card to keep in the pet first-aid kit would save lives.
Thanks Oliver — great point about a visual chart. We’ll consider adding an infographic for compression-to-breath timing in the next update.
If anyone makes a printable version, please share 🙏
Loved the ‘Be Your Pet’s First Responder’ intro — felt empowering rather than panic-inducing. One tiny nitpick: in Step 3, when to use direct pressure vs. a tourniquet wasn’t super clear. Could be dangerous if misunderstood.
Agreed. I had a bad experience where someone insisted on a tourniquet and it didn’t end well. Context matters a lot.
Good catch, Maya. We’ll clarify: direct pressure first for most wounds; tourniquet only for life-threatening limb bleeding when direct pressure fails and transport will be delayed. We’ll add explicit warnings.
This guide should come with a ‘what to keep in your car’ checklist. Transporting an injured pet is sooo stressful and I was fumbling with blankets, a leash, and directions at 2am once.
Also, small thing: add a note about wearing gloves — not just for germs but to avoid bites from a scared animal.
Great suggestions. We’ll add a transport-in-car checklist and emphasize gloves (and how to improvise if you don’t have medical gloves).
I keep an old towel, a soft muzzle, and a flashlight in my trunk — saved me during a raccoon encounter with my dog. Towels are underrated.
Real talk: the part about staying calm is fine in theory, but in practice I’m a mess when my dog is hurt. Any mental tips? Breathing exercises? I need something that actually works under stress.
Music? Probably not during emergency, but having practiced scenarios reduces panic. Role-play once with a friend and a stuffed animal.
I count out loud while doing actions — makes me focus and slows me down. Sounds silly but it helps.
Totally valid. Try a simple 4-4-4 breathing (inhale 4s, hold 4s, exhale 4s) to reset briefly, and focus on the next small action (e.g., ‘check airway’). Breaking it into tiny steps prevents overwhelm.