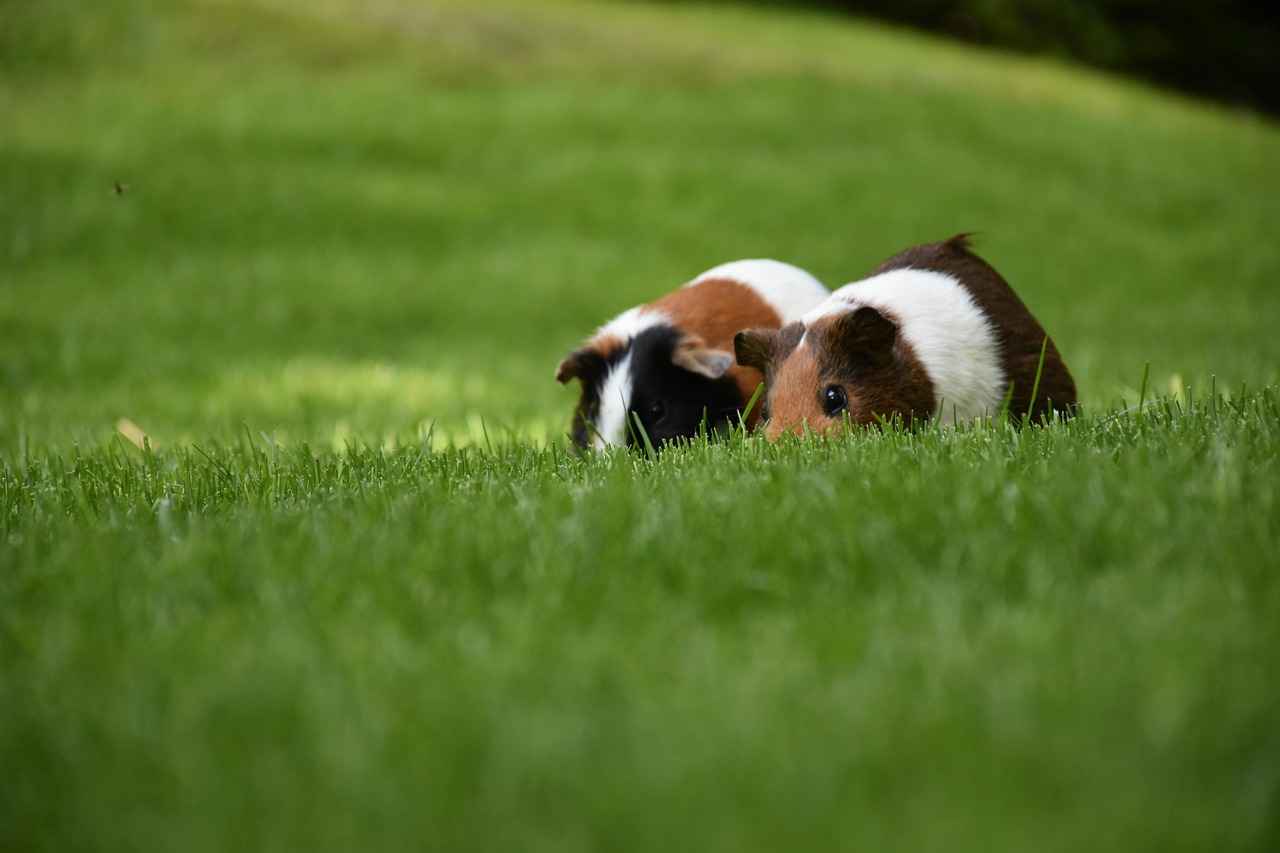
Make a Cozy Hideout Your Guinea Pig Will Love
Quick, simple, and affordable, this guide helps you build a snug DIY hideout your guinea pig will love. You’ll learn safe materials, easy cuts, and comfy finishes without fancy tools, making a warm, cozy, secure space that encourages restful naps.
Materials, Tools, and Skills

Step 1 — Pick the Perfect Shape and Size
Could a tiny cabin, tunnel, or igloo be your piggy’s new favorite spot? Size matters more than style.Decide what type of hideout fits your guinea pig and cage. Choose low, long shapes—think tunnel, loaf-shaped hut, or a shallow cave—instead of tall houses. Most pigs prefer to dart into horizontal spaces.
Measure your pig from nose to rump and the cage area. Leave 1.5–2× the pig’s body length for comfortable movement. Make the entrance large enough for easy entry but not so big others can squeeze in.
Sketch a simple plan with dimensions, mark where bedding will sit, and add ventilation holes. Planning now saves time and avoids rework.

Step 2 — Choose Safe, Comfortable Materials
Don’t be tempted by glossy finishes — safety first! Cheap cardboard can be better than splintery wood.Select materials that are pet-safe and easy to clean. Use thick cardboard for a temporary hideout—cheap, chewable, and replaceable; perfect for a weekend build. Choose untreated softwood (pine) or birch plywood for a longer-lasting hut and avoid pressure-treated lumber or toxic paints.
Pick soft, washable liners like fleece for comfort and easy laundering. Offer hay as a natural chewable layer but change it frequently to stay clean.
Use non-toxic glue or pet-safe wood screws and avoid small parts your pig could swallow. Think about weight: make the base heavy enough to reduce tipping but light enough for you to lift for cleaning.

Step 3 — Measure and Cut with Confidence
A steady hand and a good measurement beat guesswork every time — you’ve got this.Transfer your sketch measurements onto the material, marking clearly with a pencil. Double-check against your pig’s shoulders — for example, if your pig is ~25 cm wide, mark the entrance at 28–30 cm so they pass comfortably.
If using cardboard, score the cut lines first (2–3 light passes) and fold for neat edges. Use a sharp craft knife and a metal ruler for straight, clean cuts.
If using wood, clamp pieces securely and cut slowly with a small saw or jigsaw. Wear safety goggles and steady your feed for smooth lines.
Cut the entrance slightly wider than the shoulders and add a low doorway lip (about 2–3 cm) to keep bedding contained. Sand all rough edges until smooth and keep offcuts for test-fitting before final assembly.

Step 4 — Assemble the Hideout—Simple Joins, Solid Result
No fancy carpentry needed — glue, clips, or a few screws will do the trick fast and clean.Join walls to the base using non-toxic glue and reinforce with pet-safe screws or heavy-duty staples for cardboard. Assemble on a flat surface to keep angles square and check fits as you go.
Attach the roof last; use a simple hinge or make the roof removable (Velcro or small bolts) so you can clean easily. Overlap tunnel seams by at least an inch and tape or staple securely for strength — think like building a small play tunnel.
Smooth inside corners and remove gaps. Test structural stability by gently pressing the top and sides—if it wobbles, add internal bracing or a heavier base material.

Step 5 — Line, Insulate, and Make It Snuggle-Ready
Tiny luxuries matter: warm fleece and a safe hay nest can turn a box into a five-star hideout.Add a washable fleece liner cut to fit the base. Secure it with Velcro strips or small staples so it won’t bunch up — cut the fleece to the interior dimensions and fasten the corners.
Place a shallow hay pile in one corner for nesting and chewing. Swap it frequently (daily or every 2–3 days) to keep things hygienic.
Add a thin layer of corrugated cardboard between base and fleece or a removable soft pad for extra insulation in cool rooms — use a folded towel or a thin pet-safe foam pad.
Avoid loose stuffing that can be ingested.
Add a small treat or favorite toy (e.g., apple slice or seagrass ball) to encourage exploration.

Step 6 — Safety Checks, Placement, and Ongoing Care
A safe hideout is a happy hideout — quick checks and a cleaning plan keep your pig healthy and comfy.Inspect the finished hideout for sharp edges, small detachable parts, and any chemical smell from glue or paint; sand rough spots and recheck. Remove loose staples or bits that could be chewed off. Check for toxic residues by waiting until adhesives/paints fully cure or using pet-safe products.
Place the hideout in a calm cage corner away from drafts, open windows, or direct heat sources (not next to radiators). Avoid high-traffic or noisy areas.
Observe your guinea pig’s first interactions; encourage shy pigs with a small treat (a carrot piece or extra hay tuft) placed inside.
Establish a cleaning routine and replace cardboard hideouts every few months if chewed through. Watch for overheating (panting), boredom (excess chewing), or avoidance and adjust bedding, size, or location accordingly.
All Set — Enjoy Your Piggy’s New Sanctuary
With a bit of planning and pet-safe materials, you’ve built a comfy hideout that’s easy to maintain. Watch, tweak, and enjoy the happy squeaks — ready to see how differently your piggy behaves with a snug spot for more bonding time?


Constructive feedback: some of the materials listed in Step 2 felt vague (e.g., ‘soft padding’). Could you specify thicknesses or types (e.g., 1cm foam, 3mm felt)? Would help with shopping lists.
Excellent point, Liam. We’ll add specific thickness recommendations and alternative material choices in the next edit — thanks for the suggestion.
Agree. I ended up buying too much padding because I wasn’t sure. Detailed specs = less waste.
Thanks! Happy to help refine the guide.
Long comment incoming because I got carried away building and have notes:
– Pick a shape that fits your cage layout. I tried a tall hideout and it blocked sightlines.
– Measure twice, cut once (obvs). I ended up with a slanted roof because I guessed measurements.
– For assembly, pre-drill holes for screws — small wood can split otherwise.
– Fleece liners: have two sets so you can swap while washing.
Overall 9/10 guide. Would give 10 if there were printable templates included!
Pre-drill saved me too. Learned that the hard way.
Yes to templates. My eyes glazed over trying to visualize dimensions.
If anyone wants, I can sketch my template and upload a pic later.
Fantastic detailed feedback, Victoria — love the checklist format. Printable templates are a popular request; we’ll look into adding them.
This is adorable and seems doable. I especially appreciated Step 6 — ongoing care. Too often guides forget to say to check chew damage regularly. Also, please remind folks never to use treated lumber!
Has anyone tried using wicker? Looks natural but I’m not sure about splinters/ingestion…
I wouldn’t recommend wicker unless it’s tightly woven and checked daily. Better safe than sorry.
Exactly — untreated, pet-safe materials are a must. Thanks for calling that out, Maya. We’ll keep emphasizing it.
Agreed. My neighbor used treated wood once and had to replace the hideout. Not worth the risk.
I loved the safety checklist in Step 6. Pretty much followed it to a T and my pig is much calmer with the new hideout. One tiny thing: you might add a reminder about ventilation holes for enclosed designs.
Great suggestion, Priya — added to our notes for revision. Ventilation is essential, especially for fully enclosed designs. Thanks!
I drilled a couple of small holes near the top in the back and it’s been perfect — unobtrusive but effective.
Neutral take: The guide is solid, but I wish there were more photos of each step. A short video would be even better for newbies. Otherwise, nice and practical.
Yes, visuals help. I almost messed up the angles on Step 1 because I couldn’t tell what ‘perfect shape’ looked like for medium pigs.
Thanks for the honest feedback, Noah. We hear you — we’ll work on adding more step-by-step images and possibly a short clip in the next update.
Great guide — clear steps and I love the emphasis on safety. I built a triangular hideout last weekend and my guinea pig immediately ran in like it was a castle. A couple tips from my experience:
1) Use sanded plywood to avoid splinters.
2) Seal edges with pet-safe wood finish.
3) Make the doorway a bit wider than you think.
Thanks for the step-by-step photos too!
Awesome, James — glad it worked out! The wider doorway tip is spot on, especially for older or chubby piggies. Thanks for sharing your extra tips.
Sanded plywood + sealant saved me too. Also attach a little hay pocket inside so they always have snacks 🙂
Love the detail! Do you think a small ramp would be okay for a low hideout? My pig is a bit lazy 😂
I built the hideout and my pig somehow turned it into a hay farm. He pushed hay under the lining and sleeps there now. 😂
One small critique: Step 4’s join suggestions were a bit sparse — maybe include a simple staggered-batten method for extra strength?
Ha! Hay farms are adorable. Good point about the joins — we can add a staggered-batten example for those wanting more durability. Thanks!
Staggered battens are easy — glue + small screws on the inside. Keeps everything flush and solid.
Thanks, Lena! I’ll try that on my next build.
Quick question: the guide says ‘insulate’ — any specific materials recommended? I’m worried about overheating in summer.
I used reflective bubble wrap under a fabric layer for winter and removed it in summer. Works well, but make sure it’s covered so they can’t chew it.
Great question, Ava. For insulation, we recommend using thin foam board (covered in fabric) or an extra layer of fleece. Avoid dense insulation that traps heat. Focus more on lining for comfort than heavy insulation in warm months.
Short and sweet: followed the guide, used foam board covered in cotton — my pig approves. 😊
Also, don’t forget to round the entrance corners so burrs/edges don’t catch on whiskers.
Good reminder. I sanded mine and then rounded with a rasp. Smooth as butter.
Love the practical tip about rounding corners — whisker safety is often overlooked. Thanks, Sophia!
LOL my pig chewed a little hole on day two — oops. 😂
Suggestion: add a note about chew-resistant exterior options or placing chew toys nearby as distraction. Otherwise, great idea for a cozy spot.
Chew holes are classic! Good idea about chew toys as distraction — we’ll include chew-resistant tips and placement advice.
I keep a log of new toys and rotate them weekly. Keeps the piggies busy and leaves the hideout alone most of the time.
I tried the measurements in Step 3 but my cuts were kinda crooked. Anyone else struggle with a jigsaw? 😅
I might have rushed. Any tricks to keep cuts straight?
Use painter’s tape over the cut line so the blade doesn’t tear the wood fibers. Helped my crooked attempts a lot.
Jigsaws can be tricky. Clamp a straight board or a guide rail to your workpiece and run the jigsaw along it. Also, score the cut line first and go slow. Good to hear you’re tackling the project!
If all else fails, a handsaw and patience = clean edge. No power tools, no stress.
Two words: fleece liners. My pig is obsessed. I changed the bottom liner for washing and now it’s so much easier to keep things fresh. Guide nailed that part!
Fleece liners really are a game-changer. Thanks for the endorsement, Olga — and for reminding others to have spares on hand.
I use a heavier anti-pill fleece and line it with a thin absorbent layer underneath. Washing on gentle helps too.
What brand of fleece do you use? All the ones I tried bunch up after a wash 😕
Pretty fun DIY. I used leftover fabric for lining and it gave the hideout a cottage vibe. If anyone wants the pattern I used, I can post pics later!
I’d love that pattern, Rachel. Thinking of making two hideouts (one for naps, one for emergency snacks).
That sounds lovely, Rachel — would love to see your fabric pattern pics. Please do share!
Will post tonight! Also, pro tip: attach the fabric with velcro so it’s removable for washing.
Just a small tech nitpick: the step numbers jumped in my browser — Step 3 was labeled as Step 4. Probably just formatting. Content was still helpful though.
Thanks for flagging that, Oliver. We’ll fix the numbering glitch. Appreciate the heads-up!
I noticed that too on mobile. Glad it’s not just me.
Thank you for including a safety checklist. Minor thing — maybe add a reminder about where to place the hideout in relation to heat sources and drafts. I put mine under a lamp by accident and had to move it 😬
Yep — lesson learned. Now mine has a shady, cozy corner and is much happier.
Good catch, Amelia. We’ll add placement guidelines (away from direct heat, drafts, and high-traffic areas). Thanks for sharing your experience.
Also keep it away from windows with direct sun. Guinea pigs can overheat quickly.